Today I will be writing about creating a Site to Site (S2S) Virtual Private Network from your Azure virtual network to your on-premises network without the need to use a dedicated VPN hardware device.
Requirements:
-
active Azure subscription
-
Azure Resource Group
-
Azure virtual network
-
on-premises VM to install Windows Server 2019
-
proper firewall settings.
-
some networking knowledge
We will start by logging on to https://portal.azure.com.
You can use an existing resource group if you already have networks and VMs in it or create a new resource group.
I will create a new one :

After creating the resource group I will go and create a Virtual Network. Go to + Create a resource and search for Virtual Network like below:

Then press Create:

Give the virtual network a meaningful name, choose the resource group and region in which to deploy, then click Next: IP Addresses

Create an IP address space that will be different from your on-premises space:
Create a subnet by pressing Add subnet to which you want your resources (VMs) to connect and to which on premise traffic will be routed.
Define the subnet name and address space:

Then press Add:

Click on Next: Security:

Leave settings as default, and click Review+Create. Make sure Validation passed, then click on Create

Wait for the deployment to finish:

Click Go to resource:

Click Subnets

Then click on the + Gateway subnet. You can use the defaults or customize the gateway network (this will be used by the VPN gateway) based on your needs:

Click OK and wait for the subnet to be added:

The next step is to create the Virtual Network Gateway which is our VPN gateway actually. We will deploy a new one from the Marketplace.
Click on + Create a resource and type in the search box virtual network, then select Virtual Network Gateway:

Then press Create:

Select the subscription, the resource group, give it a meaningful name, select the region (make sure it is the same as the virtual network), the Gateway type is VPN and the VPN type is Route Based. Select the SKU based on your bandwidth needs, the Generation and virtual network (the one we just created). Create a new Public IP address as this will be our connection point for the VPN. If you want to create an active-active VPN with BGP you can configured that also ( I will write another article on that). Then click Review + create:

Make sure Validation passed, then click on Create

Be patient (this will take around 20-30 minutes) and Wait for the deployment to finish:

Then click Go to resource

Check that is was created and that it has a public IP assigned:

The next step is to create a Local Network Gateway. To do this go to + Create a resource and search for local network gateway (this will be the definition for the on premise gateway) and click on it:

Click Create

Give the Local Network Gateway a meaningful name, your public IP address for your on-premise device or RRAS server, select the on premise address range that you want to route to Azure:

Click Create and wait for the deployment to finish:

Then click Go to resource

The next step is to create the VPN connection. For this we need to go to Connections and click + Add

Give it a meaningful name, select the Virtual Network Gateway we created earlier and the Local Network Gateway, add a passphrase for the share key and leave the protocol as IKEv2, then click OK

Wait for the connection to get created

This finished the Azure part of the configuration.
Now we will need to configure our on premises RRAS server. For this I have created a VM, installed Windows Server 2019 on it and now we will install the needed roles on it, then configure the connection. For the routing to work correctly we will need to give the VM 2 network adapters – 1 connected to the external or DMZ network and the 2nd connected to our internal network.
Below are the configured NICs:

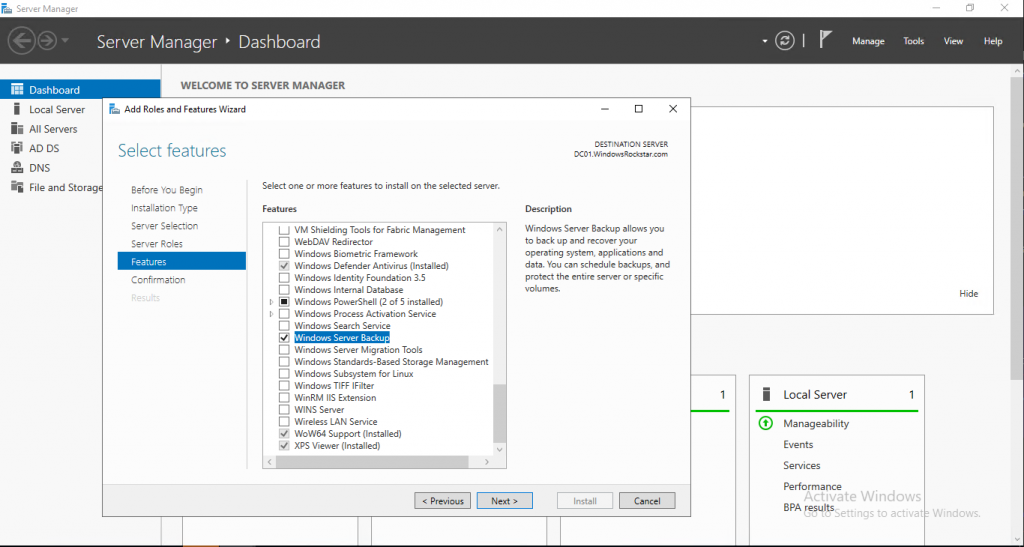
Now let’s install the RRAS role. Go to Server manager – Manage – Add Roles and Features. Select Role-Based or feature-based installation.

Select the server

Select the Remote Access role

On features click next, then on the Remote Access click next. On Role Services select DirectAccess and VPN (RAS), then click on Add Features

Click Next

On the Web Server Role (IIS) click next, same on role services

Click Install

Wait for the installation to finish.

After the installation has finished click Close, then open the Routing and Remote Access console

Right Click the server name and then click on Configure and Enable Routing and Remote Access

Click Next

Select Secure connection between two private networks

Select Yes

If you have a DHCP server in your environment select Automatically. Else select From a specified range of addresses and define the range. I will select Automatically, then click Next

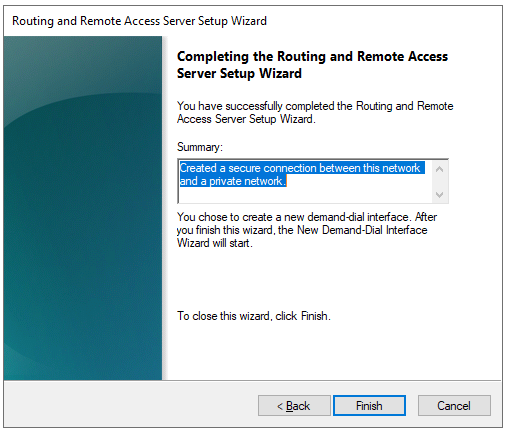
Click Finish and wait for the configuration to finish.

On the new wizard for the Demand Dial click next

Give the connection a meaningful name and click Next

Select Connect using virtual private networking (VPN)

For the protocol select IKEv2 (same as we select on the Azure side), click Next

Go to the VPN gateway on azure and get the Public IP of the VPN gateway.

Enter the Public IP of the gateway

Make sure Route IP Packets on this interface is selected and click Next

On the Static Router click Add

Add the address space you defined on the Azure Virtual Network and on the Subnet you defined for your VMs, add a low metric, then click OK

It should look like this, click Next

On the credentials page put just Azure, click Next

Click Finish

After the configuration has been finished expand it then go to Network Interfaces

Right click Azure S2S, select Properties

Go to Security, select Use preshared key for authentication and add the key that was configured on the Azure VPN gateway, then click OK

Right click the connection and select connect

And he now have a VPN connection to our Azure VNET

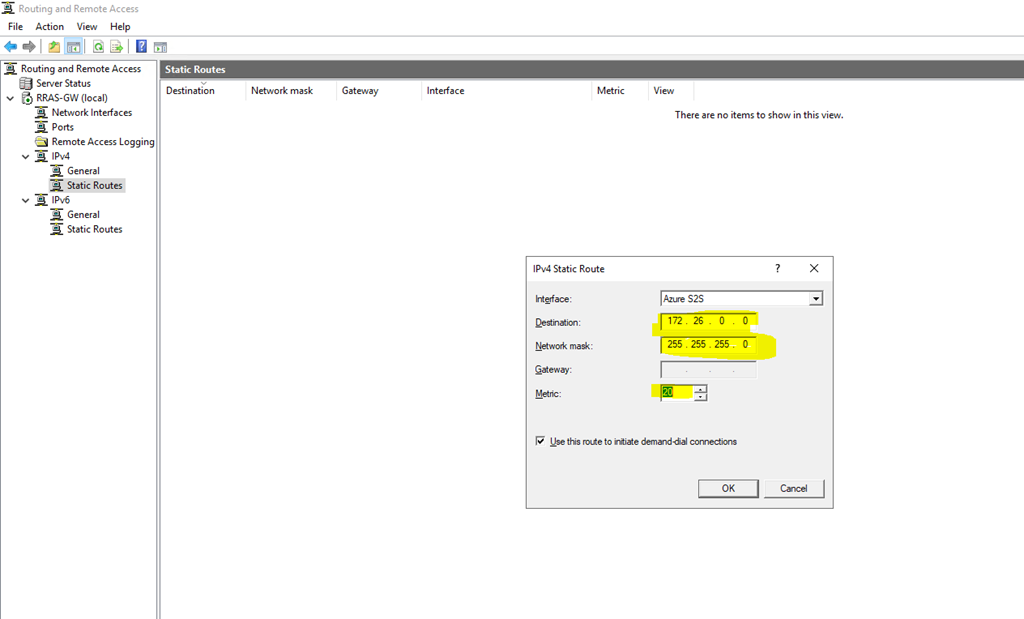
Now we need to add the route to our VNET in the configuration. Go to IPv4, right click Static Routes and select New static route

Add the address space of your Azure subnet, selecting a low metric, click OK

I have quickly deployed a test VM on my subnet and tried to ping it from my RAS gateway machine:

Plus I can now RDP on the internal interface so no need for public RDP:

This is how you deploy a site to site VPN from on premise to Azure for without the need for expensive hardware.
Thank you for reading it all up.
In a future article I will show you how to be able to use a VPN with a dynamic IP address with minimal downtime.


